Dreaming of building your own home? It’s a big job, but totally doable when you know what to expect. From picking your lot to hanging light fixtures, each step builds on the one before it. The process may seem long, but when it all comes together, it’s worth it.
Whether you’re thinking about going custom or working with a builder, this guide walks you through the main steps to building a house. We’ll keep it simple and honest, no fluff, just what you really need to know.
And if you’re planning to sell your current home before you build, iBuyer.com can help. You’ll get a fast, data-backed cash offer and skip the stress of listings and open houses. It’s a great way to move on your terms, without all the usual drama.
Building a House
- 1. Secure Your Lot and Building Permits
- 2. Prep the Land and Pour the Foundation
- 3. Frame the Structure and Add Roofing
- 4. Install Major Systems: Plumbing, Electrical, HVAC
- 5. Add Insulation and Interior Drywall
- 6. Install Interior and Exterior Finishes
- 7. Final Inspections, Walkthrough, and Moving In
- Timeline & Cost Breakdown of the Construction Process
- Should You Buy or Build a Home?
- Reilly’s Two Cents
- From Blueprint to Front Door
- FAQ
Instant Valuation, Confidential Deals with a Certified iBuyer.com Specialist.
Sell Smart, Sell Fast, Get Sold. No Obligations.
1. Secure Your Lot and Building Permits
First things first, you need land to build on. Look for a lot that fits your needs, budget, and lifestyle. Think about things like school zones, commute times, and whether the land is already cleared or needs work.
Next, check with your local city or county about zoning rules. Some lots are meant for farms, others for homes. You’ll also want to ask about utility hookups, water, sewer, and electricity can be expensive to add if they aren’t already there.
Once you pick your lot, you’ll need permits before building. This can include building, septic, electrical, and sometimes tree removal. Talk to your builder or architect, they usually handle the paperwork, but it’s smart to know what’s required.
2. Prep the Land and Pour the Foundation
Before any building starts, your land needs to be cleared and leveled. That means removing trees, rocks, or old buildings. Then, the builder brings in heavy machines to grade the ground and get it nice and flat.
Now it’s time to lay the foundation. Most homes use a slab, crawl space, or basement, your builder will help you pick what works best for your lot and budget. Once that’s decided, they pour concrete and let it cure (that’s builder talk for harden).
Don’t forget the timeline. Weather, inspections, or delays with supplies can slow things down. Just know that this stage is the base for everything else, so it’s okay if it takes a little longer.
3. Frame the Structure and Add Roofing
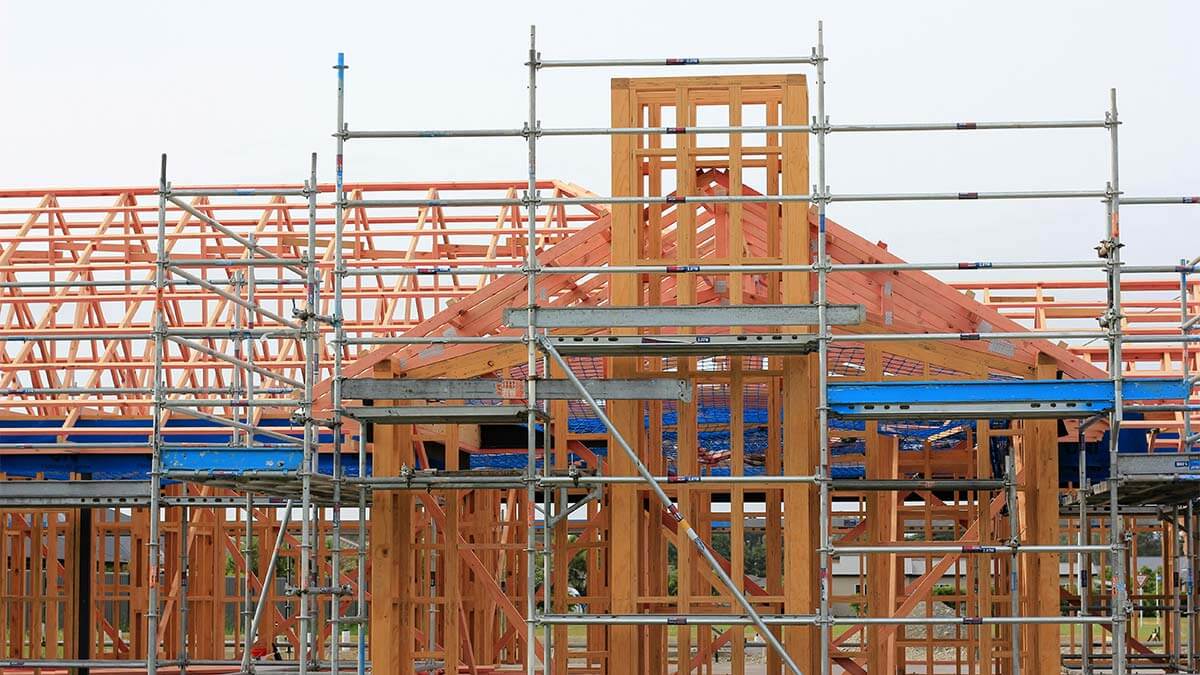
Now it starts to look like a house! Framing is when your builder puts up the walls, floors, and roof. They use wood or metal beams to create the basic shape. This step moves fast, and it’s exciting to see your home take form.
Once the frame is up, the team adds sheathing, flat panels that cover the outside walls. Then they wrap it in a weatherproof layer to keep out rain and wind. It’s like putting on a raincoat for your house.
The roof comes next. Whether it’s shingles or tiles, your roof keeps everything inside dry and safe. When this part is done, your home is “dried in,” which means it’s sealed from the weather and ready for the next steps.
4. Install Major Systems: Plumbing, Electrical, HVAC
This is where things get serious behind the walls. Plumbers run pipes for sinks, toilets, and showers. Electricians install wires, outlets, and your breaker box. HVAC techs set up the ductwork for heating and cooling.
All this work happens before the walls go up, so it’s your chance to double-check where everything’s going. Want an outlet next to your bed or a light switch by the pantry? Speak up now, it’s way easier to fix before drywall.
Once these systems are in, the city or county will send inspectors to make sure everything is safe and up to code. Don’t worry, your builder usually handles the scheduling.
5. Add Insulation and Interior Drywall
Now it’s time to keep your house cozy. Insulation helps control temperature and save energy. It gets tucked into walls, ceilings, and sometimes floors. You can choose from fiberglass, spray foam, or other types depending on your budget and how energy efficient you want to be.
Next up is drywall, the flat panels that make up your walls and ceilings. The team hangs the sheets, tapes the seams, and smooths everything out. This step can be messy, but it makes the inside of your home start to look real.
Once the drywall dries, you’re ready for paint, trim, and everything that makes the space feel like home.
6. Install Interior and Exterior Finishes
This is the fun part, your house starts to show its personality. Inside, the crew paints the walls, installs baseboards, and adds trim around windows and doors. Cabinets, countertops, and light fixtures go in too. Little by little, each room comes together.
On the outside, your home gets siding, brick, or whatever exterior finish you picked. Walkways, driveways, and landscaping are added to boost curb appeal. It’s starting to look like the real deal now.
This step can move quickly or slowly, depending on how custom your finishes are. Just remember, it’s worth the wait to get the details right.
7. Final Inspections, Walkthrough, and Moving In
Before you can move in, your new home has to pass a few final checks. Local inspectors will look at plumbing, electrical, and safety features. If everything looks good, you’ll get the okay to move forward.
Then comes the walkthrough. This is your chance to spot any last-minute fixes, maybe a door that sticks or paint that needs touching up. Make a list and give it to your builder so they can take care of it before closing.
Once that’s done, you’ll get your certificate of occupancy. That’s the official green light. Now all that’s left is to grab the keys and start unpacking.
Timeline & Cost Breakdown of the Construction Process
Building a home takes time, usually 7 to 12 months from start to finish. The timeline depends on things like the size of the house, weather, permit delays, and how custom your choices are.
Costs can vary a lot too. On average, you’re looking at around $150 to $250 per square foot, but that number can go up fast with high-end finishes or big changes to the plan. Labor and material prices also shift depending on where you live and what’s in demand.
To stay on budget, ask your builder for a detailed cost breakdown. Know what’s included, and what’s not. It’s better to ask too many questions now than to get surprised later.
Should You Buy or Build a Home?
This is a big question, and the answer depends on your priorities. Buying a home is usually faster and sometimes cheaper, especially if you find a place that already checks most of your boxes. Plus, you skip the stress of construction delays and decision overload.
Building a home takes longer and often costs more upfront. But you get to design it exactly how you want, from the floor plan to the light fixtures. It’s a great option if you have specific needs or want energy-efficient features baked in from the start.
If you’re stuck in the middle, think about your timeline, your budget, and how much control you want over the details. Both options can work, you just need to know what matters most to you.
Reilly’s Two Cents
I’ve worked with a lot of homeowners who decided to sell first, then build. Let me tell you, there’s a big difference between what you see on TV and what happens in real life. The process is rewarding, but it can also be stressful, especially if you’re trying to juggle two homes at once.
Here’s what I’ve seen work best:
- Start planning your sale early. If your current home sells fast (which it often does), you’ll need somewhere to stay while your new home is being built. Having a plan for that in advance saves a ton of stress.
- Build a buffer into your timeline. Weather, delays, and backorders happen. Don’t schedule your move-in date the day after the builder says they’ll be done.
- Communicate with your builder, often. Weekly check-ins help you stay on top of what’s going on and fix small issues before they become big ones.
- Think long-term. It’s tempting to pick trendy finishes, but ask yourself what will still look good, and work well, five or ten years from now.
Building a home is a big commitment, but with the right prep and mindset, it’s one of the most satisfying journeys you can take as a homeowner.
From Blueprint to Front Door
Building a house is a big journey, but breaking it down step by step makes it way more manageable. From picking a lot to painting the walls, every part of the process gets you closer to your dream home. Sure, there will be some bumps, but with the right plan and a bit of patience, you’ll get there.
And if you’re selling before you build, don’t let the market stress you out. iBuyer.com can give you a fair, fast cash offer so you can focus on your new place, not the old one. No showings, no surprises, just a clean slate.
Compare Cash Offers from Top Home Buyers. Delivered by Your Local iBuyer Certified Specialist.
One Expert, Multiple Offers, No Obligation.
FAQ
Most homes take between 7 and 12 months to build. Weather, material delays, and permits can affect the timeline.
Costs vary by location and design, but expect around $150–$250 per square foot. Always get a full estimate from your builder.
If you have experience and time, you might manage parts yourself. But most people hire a contractor to keep things on track and up to code.
Check local zoning laws and ask about water, sewer, and utility access. A builder or real estate agent can help assess the lot.
Yes. These are called construction-to-permanent loans. You borrow to build, then it converts to a regular mortgage once the home is done.
Reilly Dzurick is a seasoned real estate agent at Get Land Florida, bringing over six years of industry experience to the vibrant Vero Beach market. She is known for her deep understanding of local real estate trends and her dedication to helping clients find their dream properties. Reilly’s journey in real estate is complemented by her academic background in Public Relations, Advertising, and Applied Communication from the University of North Florida.
