Staging a house is the process of arranging furniture, decor, and lighting to create a neutral, inviting, and spacious environment for potential buyers. The goal is to help buyers emotionally connect with the space and see it as their own home. According to NAR’s Profile of Home Staging, staged homes sell faster and for 1 to 5% more than unstaged ones, and 81% of buyer’s agents say staging helps buyers visualize the property as their future home. Industry surveys compiling NAR data estimate that staged homes sell roughly 73% faster than unstaged homes across many markets, though that figure varies by local conditions.
A 1 to 5% price increase on a $350,000 home equals $3,500 to $17,500 in additional proceeds. Even a basic DIY home staging effort (a deep clean, a declutter, and a furniture edit) produces measurable results at near-zero cost.
This guide covers what home staging is and whether it works, the 3 D’s master checklist, room-by-room staging instructions, curb appeal improvements, how much it costs to stage a house, the biggest home staging mistakes to avoid, staying stage-ready while living in the home, and a data-backed ROI breakdown to help you decide whether staging fits your timeline and budget.
Skip the Staging Stress Get competing cash offers without open houses or repairs needed.
No staging, no showings, no agent fees. Compare offers free.
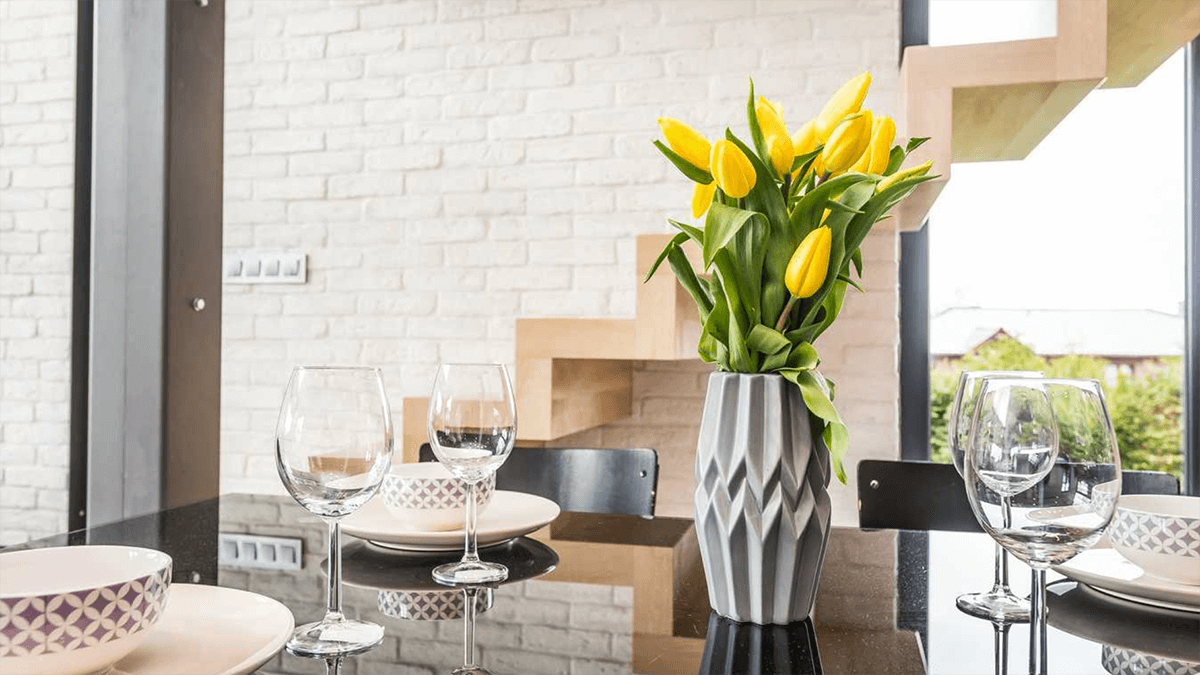
Stage Your House for Sale
- What is home staging and does it work?
- The 3 D’s: declutter, depersonalize, deep clean
- How to stage each room in your house
- How to stage your home’s exterior
- How much does it cost to stage a house?
- Biggest home staging mistakes to avoid
- Staying stage-ready while living in the home
- Is home staging worth it?
- Frequently Asked Questions
What is home staging and does it work?
Home staging is the practice of preparing a residential property for sale by arranging, cleaning, and styling it to appeal to the broadest possible pool of buyers. It is not the same as decorating. Decorating reflects the current owner’s personal taste; staging replaces personal expression with a neutral canvas where buyers can project their own vision.
How staging affects sale price and speed
Staged homes sell for 1 to 5% more than comparable unstaged homes, according to NAR’s home staging statistics. Seller’s agents in NAR surveys report that staging decreases time on market for 23% of the homes they represent. Industry analyses compiling NAR data estimate a speed advantage of roughly 73% faster for staged homes in many markets, though that figure varies by local conditions and should be treated as directional.
The dollar impact is concrete. A 1 to 5% price premium on a $350,000 home equals $3,500 to $17,500 in additional proceeds. NAR research consistently notes that the cost of staging is typically less than the cost of the first price reduction on an underperforming listing.
What buyers expect from a staged home
Buyers in 2026 search online first, which means listing photos determine whether they schedule a showing. A well-staged home photographs better, earns more clicks, and draws more serious buyers to an open house or private tour than an unstaged one.
The goal of staging is to help buyers emotionally connect with the space and visualize it as their own home. Neutral decor, clear surfaces, and intentional furniture arrangement remove the current owner from the picture and give every buyer a blank slate.
The 3 D’s: declutter, depersonalize, deep clean
The 3 D’s of home staging (Declutter, Depersonalize, and Deep clean) are the foundation that professional stagers and NAR consumer guides both recommend as the starting point. All the home staging tips in this guide build on these three steps. The home staging checklist below starts with the 3 D’s and extends through 10 steps covering the full preparation process from interior to exterior.
Understanding how to stage a home starts here.
Step 1: Declutter every room
Decluttering every room is the first and most impactful step in any home staging checklist. Clutter makes rooms feel smaller, distracts buyers, and signals a lack of storage.
- Closets: Pack away off-season clothing and all excess items. Closets should look about half-empty to suggest ample storage space.
- Kitchen counters: Remove all small appliances, mail, keys, and daily-use clutter. Leave one to two items at most.
- Bathroom counters: Remove all personal toiletries, medications, and grooming products.
- Living areas: Reduce each surface to one or two intentional decorative items. Move everything else into storage.
- Garage and basement: Box up excess belongings and move them off-site. Buyers inspect these spaces.
Step 2: Depersonalize the space
Depersonalizing removes everything that marks the home as yours rather than a neutral property any buyer could imagine owning.
- Family photos and personal artwork: Take down every photo and personal image. Buyers who stop to look at family photos stop visualizing the home.
- Religious and political items: Remove all of them. These items narrow your buyer pool.
- Personal collections and awards: Box them and move them off-site before the first showing.
- Pet evidence: Hide litter boxes, pet bowls, and beds. Thoroughly clean all pet odors.
- Refrigerator magnets and notes: Clear the refrigerator surface entirely.
Step 3: Deep clean like a pro
Deep cleaning every surface to hotel-level cleanliness signals maintenance and care. Grime is a visible red flag that gives buyers a mental discount before they even make an offer.
- Floors and baseboards: Scrub hard floors and baseboards thoroughly. Have carpets professionally cleaned if they show any wear or odor.
- Windows: Clean all glass inside and out. Natural light is one of the most effective free staging assets in any home, and dirty windows block it.
- Appliances: Clean all appliances inside and out: oven, microwave, and refrigerator interior.
- Bathrooms: Scrub tile grout, re-caulk where needed, and replace any worn or stained accessories.
- Odors: Air the home out completely. Pet odors, cooking smells, and mustiness are immediate deal-breakers. Avoid heavy air fresheners. Buyers read them as a cover-up.
Steps 4 through 10 complete the home staging checklist:
-
Fix minor repairs. Repair leaky faucets, squeaky doors, and chipped paint before any showing. Buyers who notice small defects start a mental to-do list that reduces their offer.
-
Paint with neutral colors. Repaint bold or vibrant wall colors in neutral colors: gray, beige, or soft white. Loud walls limit buyer appeal and reduce listing photo quality.
-
Maximize lighting. Open all blinds and curtains to bring in natural light. Replace every burnt-out bulb with a bright LED at the same color temperature throughout the home.
-
Edit and arrange furniture. Remove bulky pieces and extra chairs to open up floor space. Furniture arrangement should create a conversation grouping facing the room’s focal point, not a row of chairs pushed against the walls.
-
Add greenery and finishing touches. Place low-maintenance plants or fresh flowers in main rooms. Add throw pillows and neutral-toned blankets for warmth without visual distraction.
-
Stage each room. Follow the room-by-room guide in the next section for specific instructions per space.
-
Boost curb appeal. The exterior creates the first impression. See the exterior staging section for step-by-step instructions.
How to stage each room in your house
Room-by-room execution is where home staging tips become concrete decisions. Each room has one or two moves that matter most to buyers. These instructions apply the 3 D’s framework at the room level.
Living room
The living room sets the emotional tone for the entire showing. Furniture arrangement matters more here than in any other room. Per HGTV’s room-by-room staging guide, furniture pushed against the walls makes a room feel stiff and smaller. Float pieces inward to create warmth and natural conversation groupings instead.
- Remove at least one-third of the room’s furniture to open floor space and improve traffic flow.
- Arrange remaining pieces into a conversation grouping facing the focal point: fireplace, large window, or built-in shelving.
- Place one to two low-maintenance plants and a neutral throw on the sofa or a chair.
- Clear all personal items from surfaces. Keep only a few intentional decorative objects.
- Open curtains and blinds fully before every showing to maximize natural light.
Kitchen
The kitchen should look like it belongs in a design magazine. Clear every countertop before any listing photos or in-person showing.
- Leave one to two appliances on the counter at most. A clean coffee station photographs well and creates a lifestyle moment buyers respond to emotionally.
- Place a bowl of fresh fruit on the cleared counter as a simple finishing touch.
- Clean the inside of all cabinets and the refrigerator interior. Buyers open everything.
- Remove all magnets, notes, and personal items from the refrigerator exterior.
- Polish fixtures and deep-clean the sink before any listing photos are taken.
Primary bedroom
The primary bedroom should feel like a hotel suite. The “hotel linens” approach (crisp white or neutral bedding, clear surfaces, no personal items) earns a strong emotional response from buyers.
- Dress the bed in white or neutral bedding with pressed, clean linens.
- Remove all personal items from nightstands. Leave one lamp and one small decorative item at most.
- Clear the dresser surface completely.
- Style the closet to look half-empty and well-organized. Buyers open closets.
- Remove anything that makes the room feel like it belongs to a specific person.
Bathrooms
A bathroom should feel like a spa, not a storage room.
- Hang fresh, clean white towels. Roll extras in a small basket for a spa-like display.
- Clear all personal toiletries from counters, the shower, and the tub deck.
- Lock or remove all medications from the home before showings.
- Scrub tile and grout, clean all glass surfaces, and replace any worn or stained accessories.
- Add a small plant or a single candle on the counter to complete the clean, finished aesthetic.
Entryway and foyer
The entryway is the first indoor impression and must read as light, open, and welcoming within the first few seconds.
- Remove shoe piles, overloaded coat hooks, bags, and mail.
- Hang a mirror to reflect light and visually expand the space.
- Add one small plant or a simple decorative item to create warmth.
- Place a clean, layered doormat at the entry to bridge the exterior and interior.
Spare rooms and home office
Every room in a staged home must have a clear, identifiable purpose. A spare room staged as a home office (desk, chair, lamp, minimal decor) communicates functional square footage. A spare room used as a storage dump tells buyers the home lacks storage, even when it does not.
- Identify one purpose for every spare room before staging begins.
- Set up a home office with a desk, a chair, and a few clean, intentional accessories.
- Remove all boxes, random furniture, and stored items from the space entirely.
- A guest room works well with a made bed, neutral bedding, and cleared surfaces.
- Open the closet to show organized, half-empty storage.
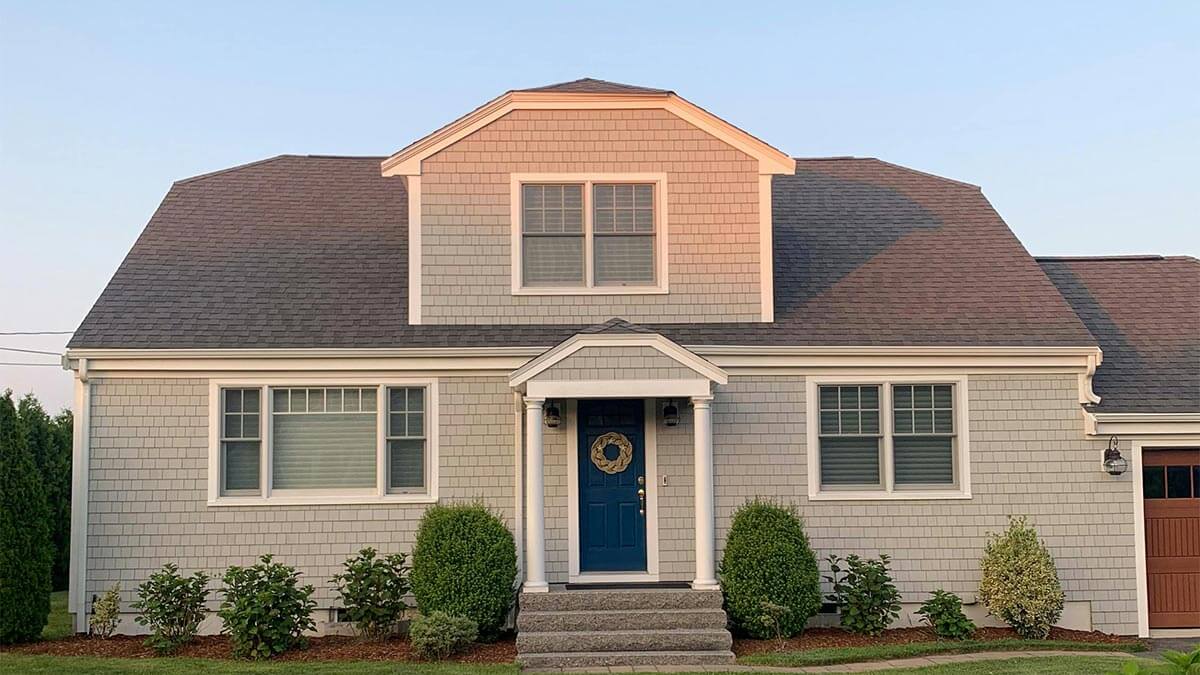
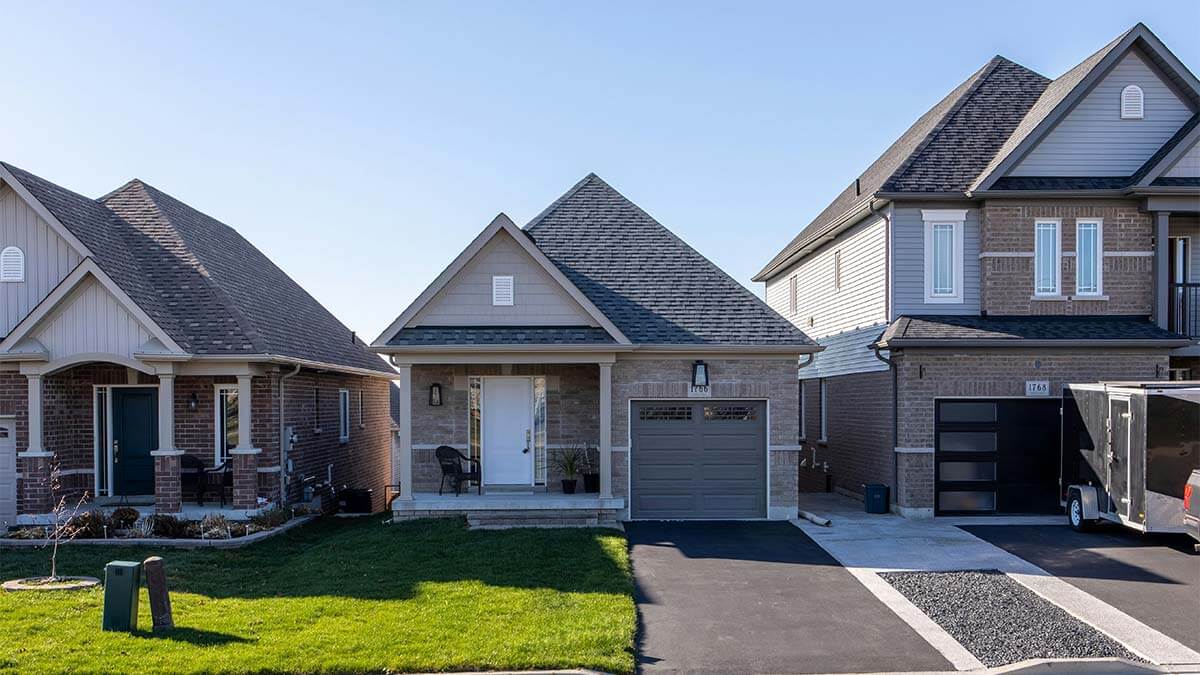
How to stage your home’s exterior
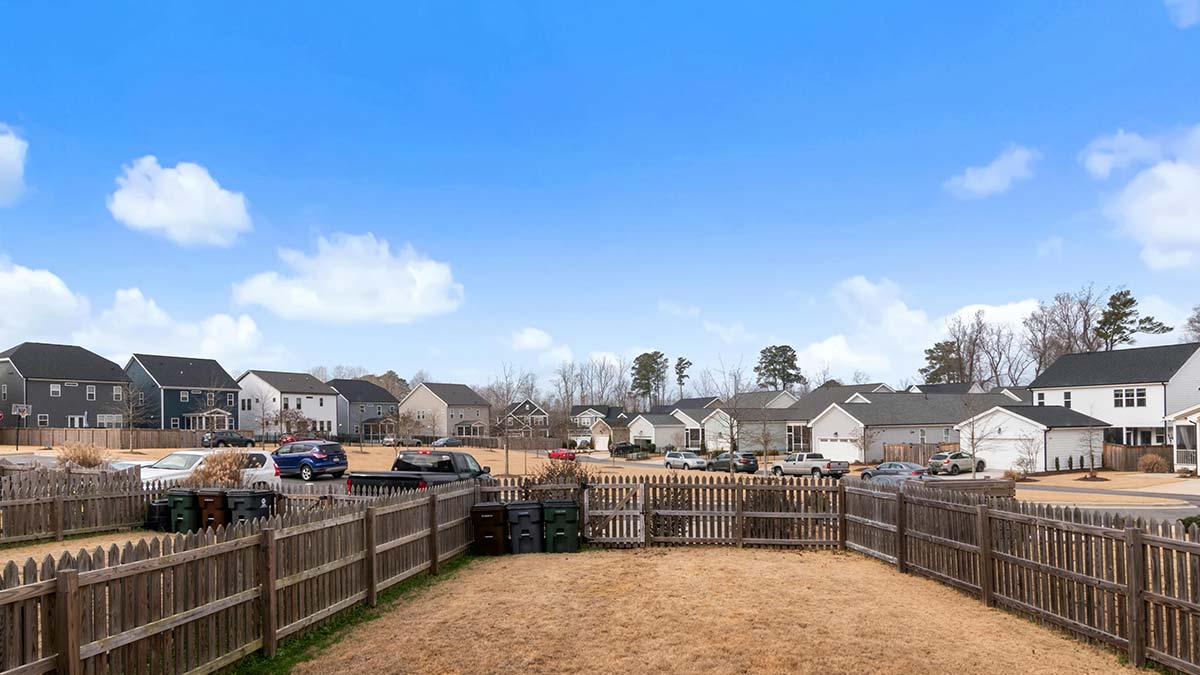
Curb appeal is the impression buyers form before they ever step through the door. A cluttered lawn or dirty driveway can undermine a beautifully staged interior before the showing even begins.
Walkways, driveway, and front door
A clean, maintained exterior signals that the home has been cared for. According to the 2025 Cost vs. Value report, garage door replacement returns approximately 194% of its cost at resale, and steel entry door replacement returns approximately 188%, making exterior upgrades the highest-ROI category in home improvement spending.
- Sweep all walkways and remove weeds from cracks and edges.
- Power-wash the driveway, front path, and any concrete or stone surfaces.
- Paint or replace the front door if it shows wear. A fresh coat of paint on the front door is one of the cheapest, highest-impact exterior moves available.
- Hang a fresh wreath on the front door.
- Clean exterior light fixtures and replace any burnt-out bulbs.
Landscaping and entryway touches
A tidy lawn and trimmed landscaping cost nothing but time and represent the highest-leverage free curb appeal move for any seller.
- Mow, edge, and trim all lawn and garden areas the day before any showing or listing photo session.
- Place two to four potted plants near the entryway. Seasonal flowers add color at low cost.
- Add layered, clean doormats to create a welcoming transition at the front door.
- Remove all lawn clutter: hoses, toys, tools, and anything that distracts from the home’s structure.
- Clean exterior windows and any visible gutters or trim.
How much does it cost to stage a house?
How much does it cost to stage a house depends on the staging option you choose and the size of your home. Options range from near-zero cost DIY staging to $6,000 or more for full professional staging of a vacant home. The table below maps each option to its typical cost, best use case, and expected impact.
| Staging Type | Typical Cost | Best For | Expected Impact |
|---|---|---|---|
| DIY home staging | $0 to $200 | Occupied homes, tight budgets | Measurable improvement in photos and showings; maximizes net proceeds |
| Staging consultation | $150 to $600 | Occupied homes needing expert guidance | Prioritized action list; results comparable to full staging when well executed |
| Full professional staging (occupied) | $1,500 to $4,000/month | Occupied homes needing added furniture or decor | 1 to 5% price premium likely; strongest ROI for homes priced $300K+ |
| Full professional staging (vacant) | $2,000 to $6,000+ | Vacant homes where buyers struggle to visualize scale | Higher showing-to-offer conversion; often essential for vacant listings |
| Virtual staging | $75 to $200/room | Online listing photos for vacant homes | Higher online click-through; does not replace in-person showing experience |
Based on industry pricing averages, 2026. Costs vary by market and home size. Verify current rates with local stagers before budgeting.
If you are selling without an agent, staging falls entirely on you, both the work and the cost. Factor that into your full FSBO comparison before choosing that path.
DIY home staging: near-zero cost
DIY home staging covers everything in the 3 D’s framework plus repair, paint, lighting, and furniture arrangement steps. Cost is primarily your time. Most sellers execute thorough DIY home staging for $100 to $300 in supplies, paint, and accessories.
Staging consultation: $150 to $600
A staging consultation brings a professional home stager to the home for a one-time advisory visit. They assess each room, identify the highest-priority changes, and give you a specific action list to execute yourself. For details on each option, the home staging cost breakdown by option from Travelers covers consultation fees and full-service pricing side by side. Consultations typically run $150 to $600 depending on the stager’s experience and your local market.
Full professional staging: $1,500 to $4,000+
Full professional staging for an occupied home averages $1,500 to $4,000 per month. The professional home stager supplies additional furniture, art, and accessories as needed. Vacant home staging runs $2,000 to $6,000 or more for the initial setup because all furniture must be sourced and installed.
Virtual staging: $75 to $200 per room
Virtual staging uses software to digitally add furniture and decor to listing photos. Cost runs $75 to $200 per room. It improves online click-through rates for vacant home listings but does not replicate the in-person experience. Buyers who see virtually staged listing photos and then arrive at an empty home may feel misled. Disclosing that photos are virtually staged is standard practice and recommended.
Biggest home staging mistakes to avoid
Even well-intentioned staging can backfire. According to staging mistakes agents warn against most, these errors show up repeatedly in listings that sit on the market longer than they should. Here are the 12 biggest home staging mistakes, each formatted so you can verify it before your first showing.
-
Over-personalizing the space. Family photos, religious items, and personal collections shift buyer attention from the home to the current owner. Remove all of them before any showing or listing photos session. Buyers cannot emotionally place themselves in a home that already belongs to someone else.
-
Too much furniture. Overcrowded rooms feel smaller and block buyer imagination. Remove at least one-third of the furniture before the first showing. Less furniture creates better traffic flow and makes the room’s square footage feel larger.
-
Pushing furniture against the walls. Furniture lined up along the perimeter creates awkward, unused central space and makes rooms feel stiff. Float pieces inward to create natural conversation groupings. This is one of the most common and most correctable furniture arrangement errors sellers make.
-
Neglecting curb appeal. Buyers form their first impression before they walk through the door. A cluttered lawn or dirty driveway can end the showing before it starts. The exterior stages the interior: if buyers arrive skeptical, they stay skeptical.
-
Ignoring odors. Pet smells, cigarette smoke, and strong food odors are immediate deal-breakers. Strong air fresheners signal a cover-up, which makes buyers more suspicious. Air the home out completely and address the source of any odor before listing.
-
Excessive dark or bold paint colors. Vibrant or dark walls limit buyer appeal by catering to a narrow taste. Repaint to neutral colors (gray, beige, or soft white) before listing. Neutral paint also photographs better and makes rooms feel larger in listing photos.
-
Poor or mismatched lighting. Dark rooms feel smaller and less inviting. Burnt-out bulbs or mismatched LED color temperatures create an unpolished impression. Replace all bulbs with bright, matching LEDs at the same color temperature throughout the home.
-
Using fake plants, flowers, or food. Artificial plants, flowers, and staged food make a home feel inauthentic. Buyers notice the difference and it creates the feel of a “set” rather than a real home. Use real plants or fresh-cut flowers instead. Per common staging mistakes and how to fix them from QC Design School, this is one of the most consistently cited errors that professional stagers flag in occupied homes.
-
Ignoring secondary rooms and closets. Buyers inspect every room and every closet. A storage-stuffed spare room or overflowing closet signals inadequate storage even when the home has plenty. Stage every room, not just the main living areas.
-
Hiding clutter rather than removing it. Shoving clutter into a closet, garage, or spare room moves the problem to a space buyers will open. Box up excess and remove it from the home entirely before any showing.
-
Over-staging with trendy decor. Staging that looks like a styled photo shoot can alienate buyers with different tastes. Neutral and timeless presentation beats fashionable every time. The goal is to appeal to the widest possible buyer pool, not to win a design award.
-
Not staging for listing photos. Most buyers see the home online before they visit in person. If staging only looks good in person, the listing underperforms from day one. Pay specific attention to sightlines, camera angles, and lighting when preparing for the listing photo session.
These 12 items cover the biggest home staging mistakes documented across real estate professionals and multiple market cycles. The home staging tips throughout this guide address the positive version of each one.
Staying stage-ready while living in the home
Staging a house while living in it is the reality for most sellers. The challenge is maintaining the staged look through daily life, last-minute showing requests, and the needs of children and pets. With the right systems, you can restore the staged look in 15 to 20 minutes before any showing.
Daily habits to maintain staging
Per practical tips for staging an occupied home from Young House Love, one principle drives daily success: make the staged baseline your default, not an exception you scramble to recreate.
- Pre-showing kit. Keep a basket or box in a discrete location where countertop items, mail, and daily-use clutter can be stashed in under five minutes before a last-minute showing request.
- Clear counters as the daily default. Keep kitchen and bathroom counters clear every day, not just before showings. This is the single highest-leverage daily habit for staging a house while living in it.
- Designate a landing zone. Assign a corner of a mudroom, laundry room, or closet for daily-use items (bags, keys, shoes). This keeps them out of staged spaces without removing them from reach.
- Make beds daily. The primary bedroom ranks among the three highest-priority rooms for buyers. A made bed takes two minutes and eliminates one of the most common occupied-home showing problems.
- 15-minute reset. Before every showing, run through each room in sequence: clear counters, straighten cushions, close closet doors, hide pet items, remove trash. A practiced 15-minute reset makes staging a house while living in it manageable week after week.
Managing staging with children and pets
Children and pets introduce the most daily disruption into a staged home. A few specific systems make the difference between a 15-minute reset and a 90-minute scramble.
- Staging bins for children. Use labeled, lidded bins where toys, schoolwork, and daily-use items can be loaded in under two minutes. Keep bins in the children’s rooms and load them before every showing.
- Pet go-bag. Keep a bag with the litter box liner, food bowls, and visible bedding ready for removal before showings. Remove all pet evidence before any buyer visits.
- Overnight resets. Take five minutes each evening to return staged spaces to their baseline. Catching drift daily prevents a 90-minute scramble before a same-day showing request.
- Establish staging zones. Designate certain counters and surfaces as always-clear. Even young children can learn “don’t put things on the staging counter” as a household rule.
Is home staging worth it?
Yes, for most sellers. Knowing how to stage a home for maximum return means knowing when each investment tier pays off. Because staged homes consistently deliver a price premium and speed advantage, the remaining question is whether staging fits your timeline and budget, and what the alternative looks like when it does not.
Home staging ROI by investment tier
According to home staging ROI statistics compiled by List With Clever from NAR data, staging produces a consistent return across investment tiers. The table below maps each tier to typical cost, expected price impact, and the market conditions where it performs best.
| Investment Tier | Typical Cost | Expected Price Impact | Best Market Condition |
|---|---|---|---|
| DIY home staging | $100 to $300 | 1 to 3% increase | All markets; essential in buyer’s markets |
| Consultation plus DIY execution | $300 to $900 total | 1 to 5% increase | Buyer’s markets; homes priced $250K to $500K |
| Full professional staging (occupied) | $1,500 to $4,000/month | 3 to 5% increase | Buyer’s markets; homes priced $350K+ |
| Full professional staging (vacant) | $2,000 to $6,000+ | 3 to 7% increase | All markets; near-essential for vacant listings |
Based on NAR Profile of Home Staging data and industry surveys, 2026. Individual results vary by market, price point, and execution quality.
A 1 to 5% increase on a $350,000 home equals $3,500 to $17,500 in additional sale proceeds. A $500 to $1,000 investment in a consultation plus DIY execution can return $5,000 to $10,000 or more at closing in an active market.
When staging matters most
Home staging ROI is strongest in three specific situations:
- Buyer’s markets (more competing sellers than active buyers): staged homes stand out among unstaged alternatives. If you are selling in a recession or a softening market, staging is one of the few tools that directly improves your competitive position.
- Vacant homes: buyers consistently struggle to visualize scale, purpose, and flow in empty rooms. Professional staging closes that gap and converts more showings to offers.
- Homes priced $400,000 and above: buyers at higher price points arrive with higher presentation expectations. An unstaged home in this range leaves value on the table.
Staging matters least in extreme seller’s markets, where homes receive multiple competing offers above asking price regardless of condition.
For sellers weighing staging costs against net proceeds, comparing against vetted cash buyers who purchase without staging, repairs, or showings is worth running the numbers on before committing to a full staging budget. For a closer look at skipping prep work entirely, selling as-is in Austin covers how the as-is path works in practice.
Staging takes time and money, and not every seller has both. If the prep work in this guide feels like more than your situation allows, there is a direct alternative: get competing cash offers through iBuyer.com. You submit your address once. Vetted cash buyers compete for your home. No open houses, no staging, no agent commissions. Most sellers receive initial offers within 24 to 48 hours, with a closing timeline of 7 to 30 days. Compare what cash buyers would offer against what you would net after staging costs, commission, and carrying time, then decide.
Skip the Staging Stress Get competing cash offers without open houses or repairs needed.
No staging, no showings, no agent fees. Compare offers free.
Frequently Asked Questions
Staging a house is arranging furniture, decor, and lighting to create a neutral, inviting space that lets buyers visualize owning it. The goal is buyer emotional connection, not personal expression. Staging can involve decluttering, cleaning, repainting, or rearranging furniture. It is distinct from decorating: the objective is broad buyer appeal, not personal style.
Yes: staged homes sell for 1 to 10% more and roughly 73% faster than unstaged homes, based on NAR data and industry surveys. NAR reports that 81% of buyer’s agents say staging helps buyers visualize the property as their future home. The impact is strongest in buyer’s markets where competing listings are numerous.
Staging a house costs between $0 for DIY and $4,000 or more per month for full professional staging, depending on the option you choose. A consultation, where a professional home stager advises and you execute, typically runs $150 to $600. Virtual staging for listing photos costs $75 to $200 per room but does not replicate the in-person showing experience.
The biggest home staging mistakes are over-personalizing with family photos, overcrowding rooms with furniture, and neglecting curb appeal before buyers arrive. Additional high-impact mistakes include ignoring pet and smoke odors, using dark or bold paint colors, and treating secondary rooms and closets as storage zones. Buyers inspect every space.
Do not display personal items, overcrowd rooms with large furniture, push furniture against the walls, or use fake plants and artificial food as decor. These are the four most-cited staging errors among real estate professionals. Do not hide clutter in closets or spare rooms, and do not use strong air fresheners to mask odors, as buyers interpret both as signs something is being concealed.
Yes: most occupied homes sell while staged, using daily habits that restore the staged look in 15 to 20 minutes before a showing. The key tools are a pre-showing kit basket, staging bins for children’s items, and a pet go-bag for removing animal evidence. Keeping countertops clear as the daily default is the single highest-leverage habit for staging a house while living in it.
The 3-3-3 rule in real estate covers financial reserves and property comparisons before buying, and it is not a home staging rule. The rule is an informal financial planning heuristic; different practitioners define it differently. For home staging, the relevant mnemonic is the 3 D’s: declutter, depersonalize, and deep clean. If you found this while researching how to stage a home, the 3 D’s section above is the framework you need.
DIY staging typically takes 1 to 3 weekends; a professional stager completes a full staging in 1 to 3 days once preparation is done. The largest time investment is the decluttering and cleaning phase, which takes most sellers 1 to 2 weeks. Painting adds 2 to 4 days of dry time before furniture can be moved back in.
The living room, primary bedroom, and kitchen most directly affect a buyer’s offer decision and should be prioritized first. NAR data ranks these three rooms as the highest-priority staging targets, with bathrooms ranking fourth. Every room should still be staged, because buyers walk through the entire home and an unstaged spare room undermines an otherwise well-prepared listing.
Warm gray, greige (gray-beige blends), soft white, and warm beige work best for staged homes because they photograph well and appeal to the broadest buyer pool. Cool whites can read as clinical; warm neutral colors are more forgiving across different lighting conditions. Paint all rooms before listing photos are taken, and use the same color family throughout for visual flow.
For occupied homes under $400,000, DIY home staging combined with a professional consultation produces results comparable to full staging at lower cost. A consultation ($150 to $600) gives you a professional’s room-by-room assessment and a prioritized action list. Full professional staging is most cost-effective for vacant homes, where buyers struggle to visualize scale and purpose without any furniture present.
Staging does not change the appraised value, but it can increase the price buyers will pay by 1 to 5%, per NAR seller’s agents. A 1 to 5% premium on a $350,000 home equals $3,500 to $17,500 in additional proceeds. That increase comes from buyer perception and emotional connection, not from any structural or material improvement.
Virtual staging works well for vacant home listing photos but does not replace physical staging for buyers touring in person. Virtual staging costs $75 to $200 per room and improves online click-through rates significantly. Buyers who visit after seeing virtually staged photos may feel misled if the home is empty on arrival, so disclosing that listing photos are digitally staged is standard practice.
Reilly Dzurick is a licensed real estate agent with over six years of experience and a member of the iBuyer.com Market Insights Team, covering national trends in home selling and the evolving iBuyer landscape. Her firsthand experience working with buyers and sellers gives her a practical perspective on how these platforms impact real homeowners. She holds a degree in Public Relations, Advertising, and Applied Communication.